
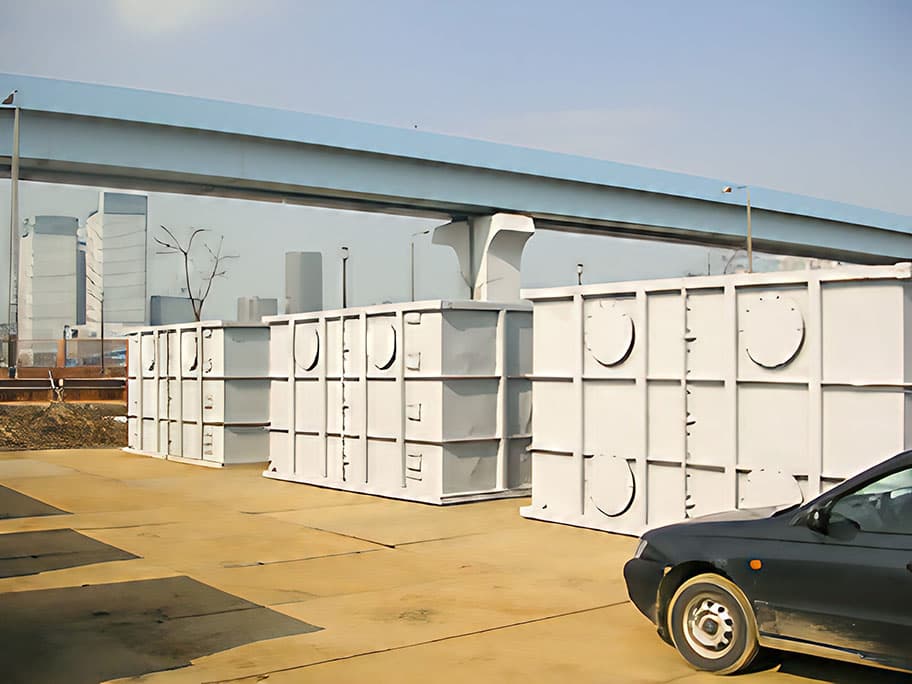
角型組立タンク
従来方式に比べて未経験者でも短時間で作業できる角形組立タンクです。
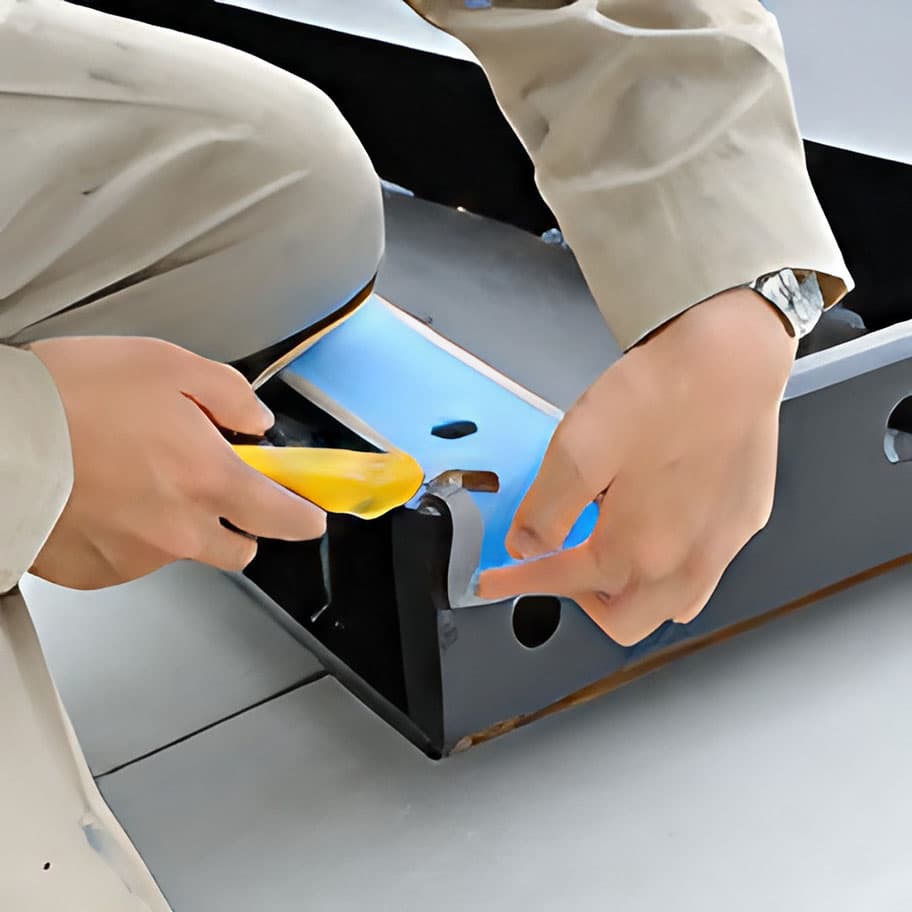
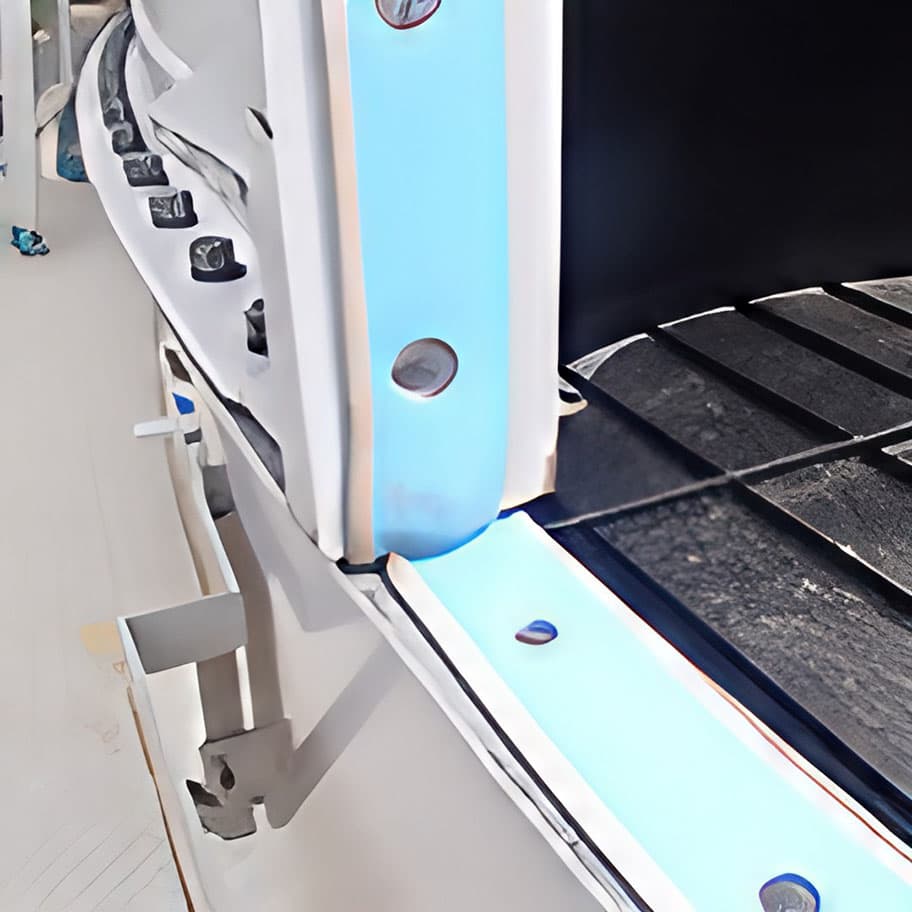
新タイプのパッキンを採用し、パッキンをボルト穴に合わせて貼り付けるだけです。
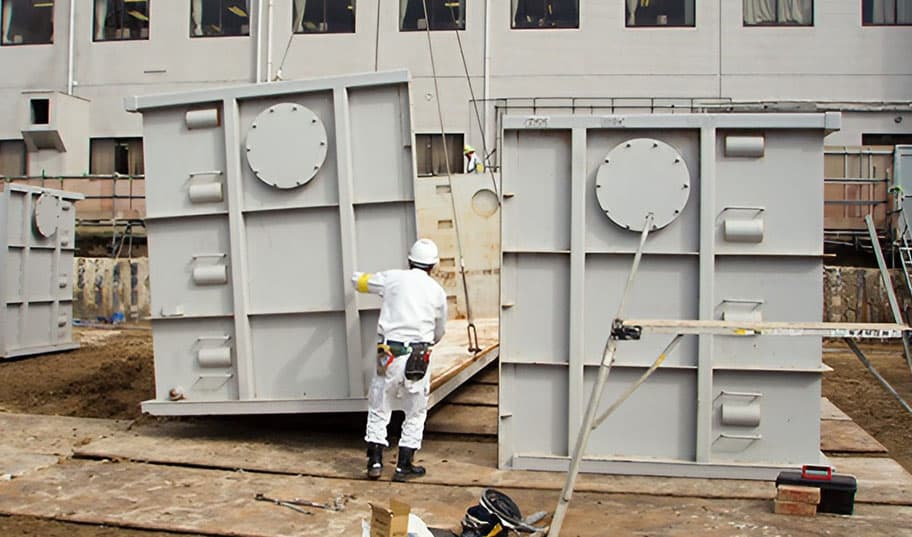
角型組立タンク設置例
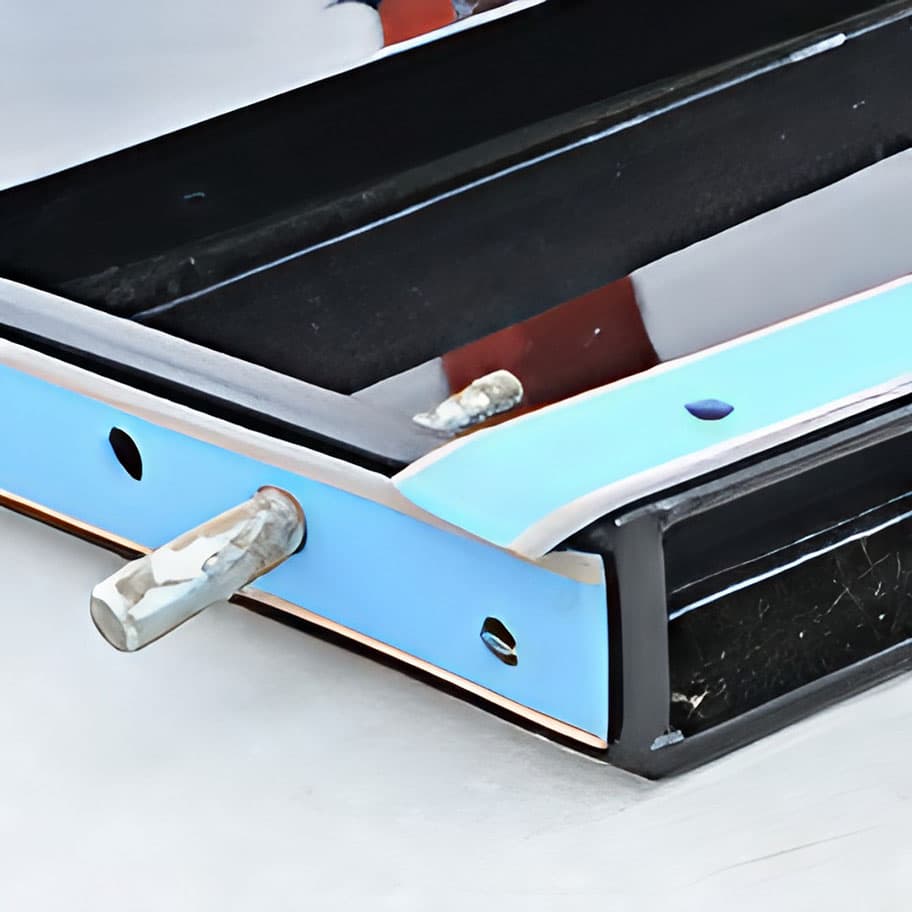
新タイプのパッキンの特徴
- 幅広パッキンだから止水力が向上
- 一体構造だから作業効率が向上
- 組立後の内面接合部シールが不要だから工程が短縮
- シール塗布作業用の高所作業車が不要
- シール材を使用していないから乾燥を待たずに組立後すぐに注水が可能
などの特徴があります。
新タイプのパッキンの採用
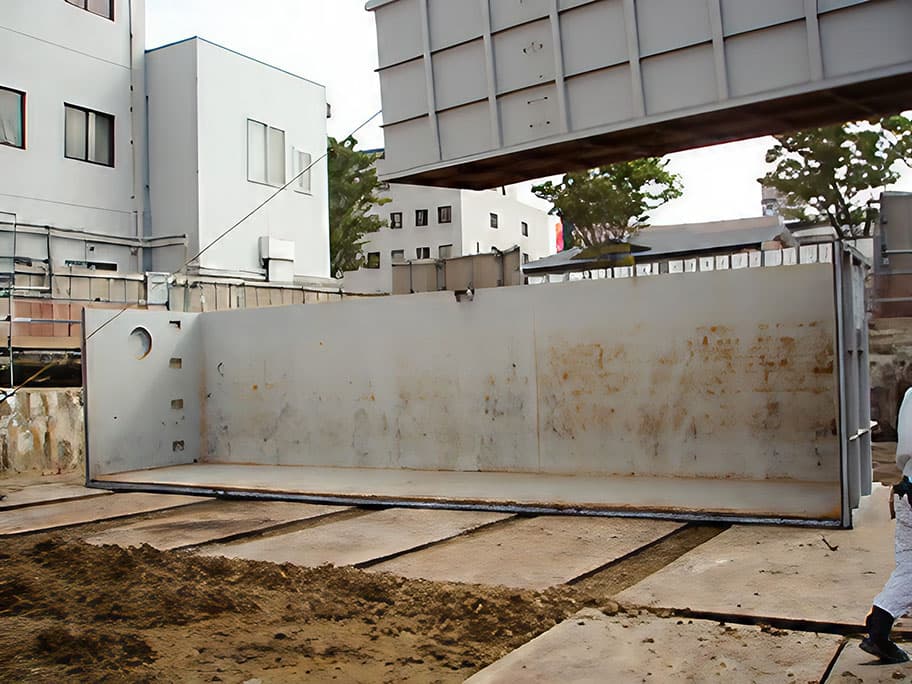
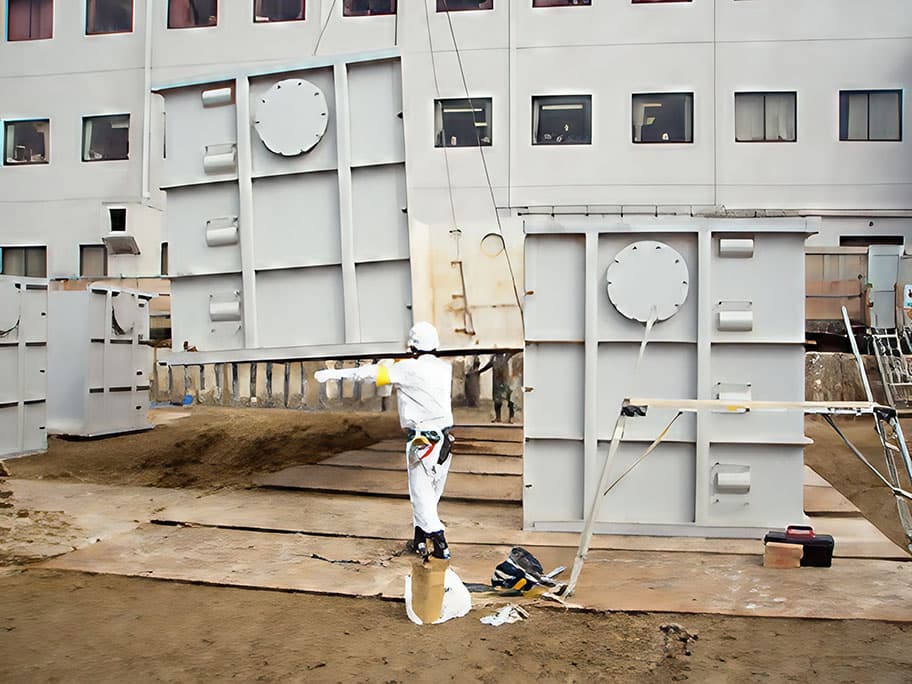
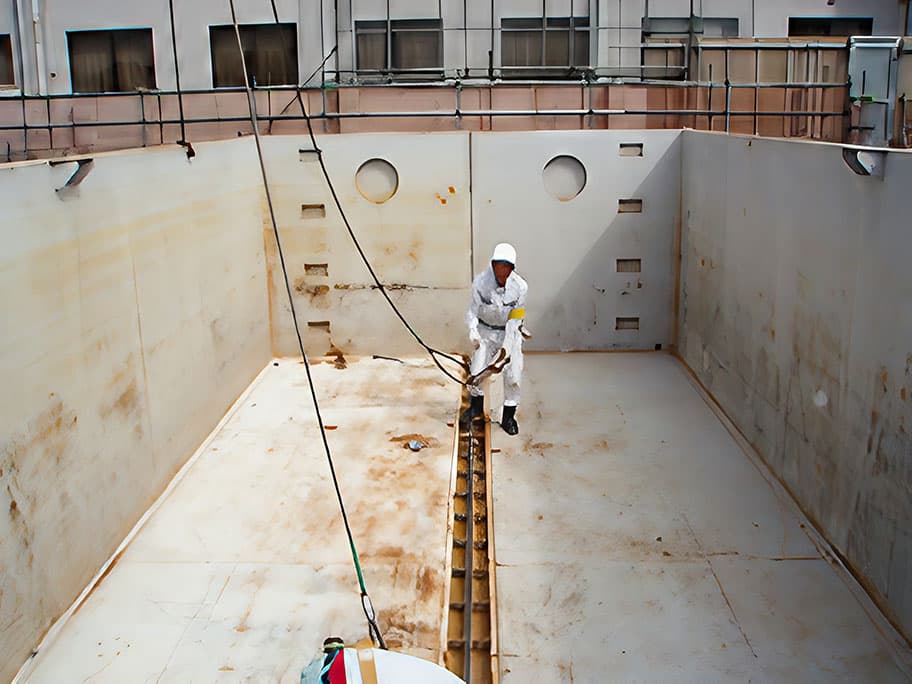
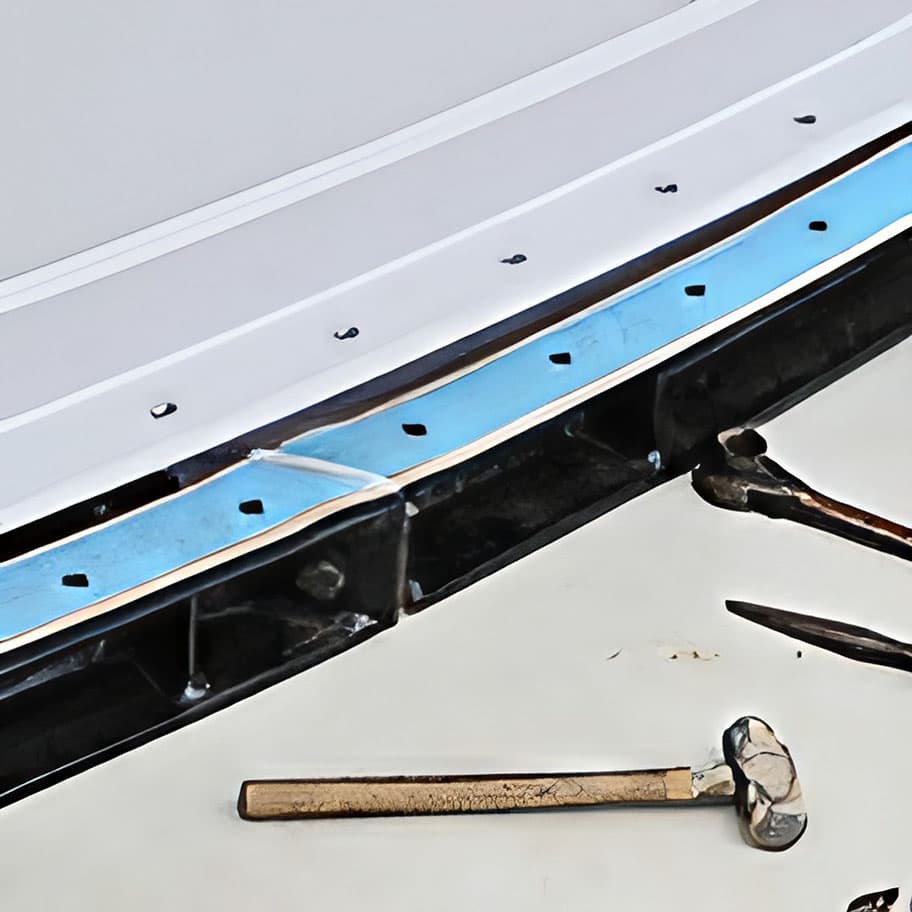
組み立て手順
仕様及び寸法表
容量(m³) | 分類 | 寸法(mm) | 重量(t) | 運搬車両 | 水抜き&キャップ |
|---|---|---|---|---|---|
高さ × 幅 × 長さ | |||||
110 | 単品 | 2,560 × 4,700 × 10,212 | 13.2 | 10t 低床× 2台 | 3B × 1 |
95 | 単品 | 2,451 × 4,388 × 9,920 | 12.4 | 10t 低床× 2台 | 3B × 1 |
52 | 単品 | 2,210 × 4,700 × 5,800 | 5.9 | 10t × 2台 | 3B × 1 |
48 | 単品 | 2,560 × 4,700 × 4,658 | 7.4 | 10t 低床× 1台 | 3B × 1 |
47 | 単品 | 2,306 × 3,817 × 6,212 | 5.4 | 10t × 2台 | 3B × 1 |
205m³set (95㎥+110㎥) | セット | 15t 低床 × 2台 |